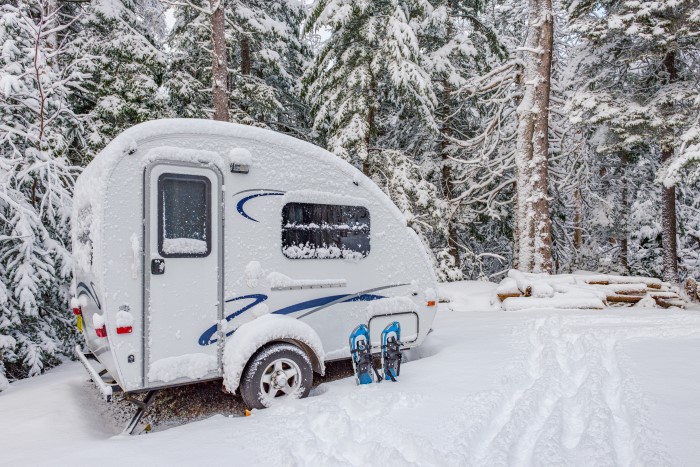
Now that Fall has officially begun, we know those cold temperatures are right around the corner! If you are storing your RV for the winter, it is time to start thinking about what you will need to do to protect it, and your wallet, from the damage freezing temperatures can cause to your RV plumbing.
Here are some steps using Marine/RV antifreeze to protect your pipes this winter!
1. Drain Tanks (Black and Gray Water)
Generally, you don’t want to leave anything in your tanks when you store your RV at any time of year, but especially not for winter. Besides the potential for bacterial growth that can occur from leaving wastewater in those tanks, freezing temperatures can really dial up the problems. When water freezes it expands, this is why it can give your RV plumbing so many problems and why it is important to winterize. Having your black tank full and then having a valve or connecting pipe freeze and crack is definitely worth avoiding. After dumping the tanks, it is recommended that you clean out your black tank. Some people use a cleaning wand accessory, personally, I use a tank cleaner treatment that you just drop in and let do all the work.
2. Drain the Water Heater
First, make sure your water heater is off and that you have waited long enough that the water has cooled down. Once it has cooled down, open the pressure relief valve and, depending on your water heater, you will remove either the anode rod or a drain plug. You’ll want to step aside while doing this, as it will likely drain out rapidly. Once it is done draining you can put back the drain plug or anode rod. NOTE: I would recommend taking this opportunity to check your anode rod to see if it is time to replace it because if you are like me, you probably have not checked it any other time of the year.
3. Drain Interior Lines/ Fresh Tank and Low Point Drains
Remove the plug and drain your freshwater tank as well as any low-point drains. Turn both hot and cold on at all faucets which will help drain all the interior lines. Don’t forget your toilet as well as any exterior shower or faucets you may have. When all the water has drained out don’t forget to close all of the faucets and drains. Any water that drained from the lines with the faucets open should have run to your gray tank, which if still connected to the sewer with the valve open, will still leave you with an empty gray tank. Once that is done feel free to close that gray tank valve and disconnect your sewer hose.
4. Bypass the Water Heater
To keep from needlessly filling gallons of anti-freeze into your water heater you will want to bypass the water heater. Your RV may have a bypass kit already installed; you should check your owner’s manual if you are not sure. If your RV does not have a bypass kit already installed, you can purchase one and either install it yourself or have a professional install it.
5. Locate the Water Pump / Bypass the Fresh Water Tank
At this point, you are either locating your preinstalled siphoning hose or winterization valve or installing a water pump converter kit. Once that is in place and your hose is in your jug of antifreeze, turn on the water pump to move the antifreeze into the lines.
6. Open Faucet Valves / Flush lines with Antifreeze
Starting from the valve closest to the water pump, open valves individually until you see the antifreeze coming out, then close. Keep doing this as you move from closest to furthest from the pump for both inside and out. Don’t forget any showers (including an outdoor shower if you have one), and the toilets (by flushing until you see the antifreeze coming out). Replace antifreeze with a full one as needed.
7. Pour Antifreeze Down Drains
Pour about a cup of antifreeze down the drain of each sink, shower, and toilet in the RV. This will make sure P-traps are protected and will stop them from freezing.
You’re all set! Just make sure the heating element is turned off and all faucets are closed. If you read through this and thought “Nope, I’m not doing all that”, you can always take your RV to a professional and have them winterize it for you.
Either way, don’t just skip it altogether or you could be looking at a much more expensive undertaking once winter has ended!
